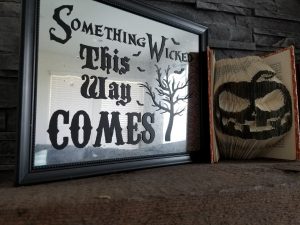
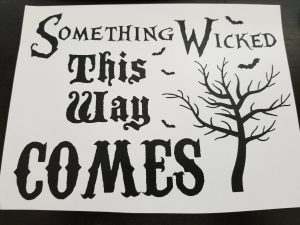
Okay, we’re just going to pretend that it hasn’t been a really long time since the last blog post. You with me? Great! So I’ve been doing a lot of crafting with my Silhouette Cameo lately, and I (finally) feel like I’m making some really cool stuff! It definitely took me a while to navigate the ins and outs of it, but it is now most definitely my favorite crafting tool. For this blog post, I want to share with you how I made this super cool distressed Halloween mirror/sign out of a dollar tree picture frame! First of all, don’t hate me for starting my Halloween decorating already. I don’t really get to do any holiday decorating for pretty much the first nine months of the year, and that’s a lot of time for me to come up with some awesome ideas…there’s kind of no stopping me come September. Any way, back to the sign. Isn’t it cute?! I love it. Totally going to make others.
Okay. Supplies needed:
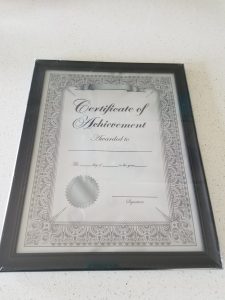
• Black 8×11 document frame from Dollar Tree (like this one)
• Spray bottle filled with vinegar/water mixture (I did half vinegar, half water)
• Black matte vinyl (12×12 sheet)
• Silhouette Cameo
So…if you don’t have a Silhouette machine, I really don’t know how you’d make this. Just make friends with someone who has one, and use theirs (pssst, I have one. And if you’re reading this, there’s a good chance we’re already friends).
Luckily for me, this project didn’t require anything that I didn’t already have on hand. I bought like a thousand picture frames from Dollar Tree (okay, maybe it was more like 20) when we first moved into our new house, because I had lots of ideas for new house artwork, and those frames are cheap. And before you say they can’t possibly be as good as the more expensive frames, just look at some of the art in my foyer and dining room.
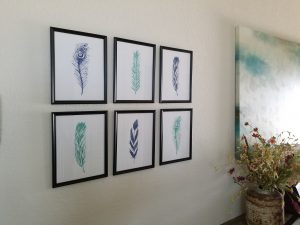

Pretty cute, right? I printed all of these on my printer at home, and they’re all frames from Dollar Tree. Buying a new house comes with a LOT of expenses, and I wanted to make things look pretty with as little expense as possible. Husband approved.
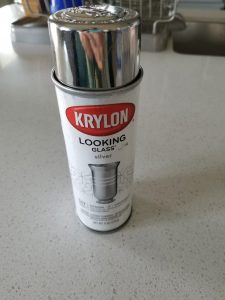
I had the Looking Glass spray paint on hand from another project – I found this awesome tutorial on how to turn mason jars into faux mercury glass. Here’s the link if you’re interested. I pretty much followed their exact steps for this project, just used the glass from the picture frame instead of a mason jar.
And since I never know when the mood (or inspiration) will strike, I try to always have some vinyl on hand for the Silhouette. It’s just a good idea.
Okay, here’s what I did:
Step 1:
Remove glass from picture frame and place it outside on newspaper covered table
Step 2:
Spray glass liberally (just one side) with vinegar/water mixture
Step 3:
Immediately following Step 2, spray glass with several coats of Looking Glass spray paint
Step 4:
After about 3-4 minutes, take a paper towel and lightly rub glass with paper towel
Step 5:
Wait for glass to dry completely (didn’t take long in the Texas heat), and turn over. The side of the glass that you did not paint should look like a (slightly distressed) mirror.
Step 6:
Create your sign (make sure it’s no larger than 8×10) with Silhouette Studio and cut out with your Cameo. If you really like the specific design that I made, I definitely don’t mind sharing the cut file that I created. Just let me know if you’d like it. Here is my design after weeding the excess vinyl:
Step 7:
After weeding the vinyl, use transfer or contact paper to put your design on the glass, and then you’re done!
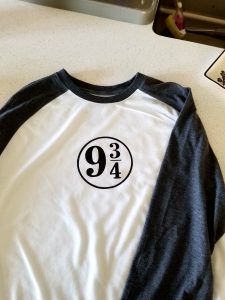
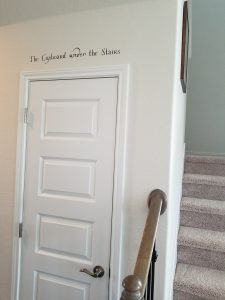
Hope this was helpful and/or inspiring! Here are a few pics of some of my other recent Cameo projects! I made a few t-shirts for myself, as well as a vinyl decal for my wall. 🙂


So long, and keep crafting!
-Gin